Use of physics in Coppercube 3D Engine

In this tutorial we will be going to use physics simulation in Coppercube 3D game engine to create a simple bowling game.

Step 1

Getting the resources

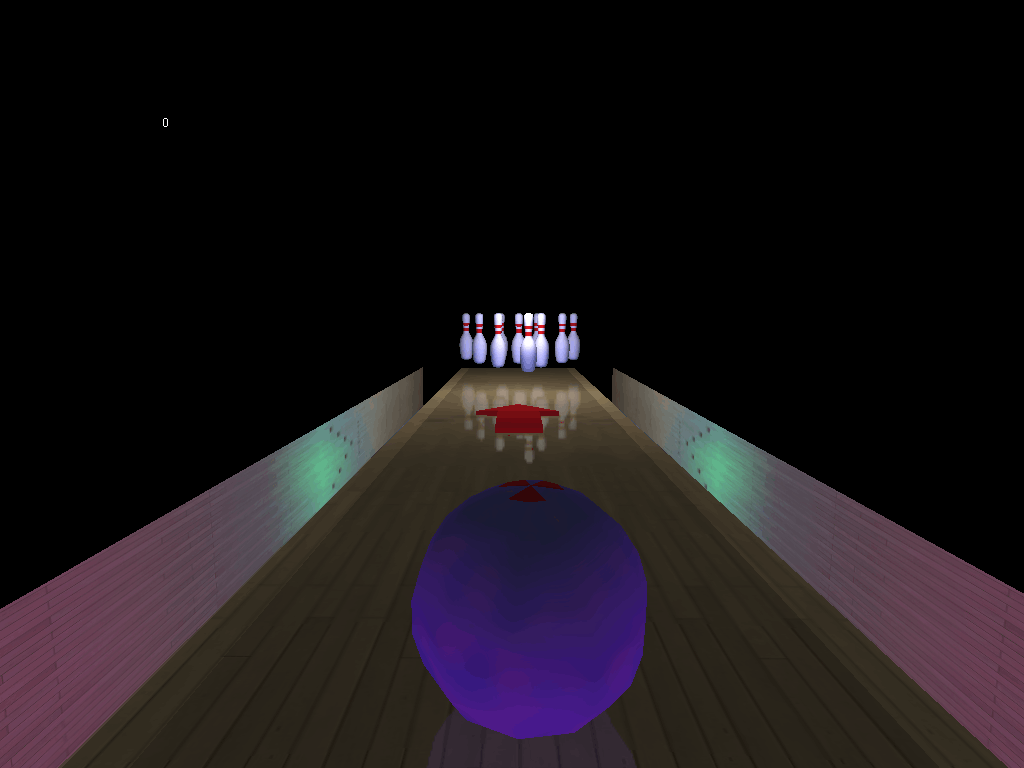
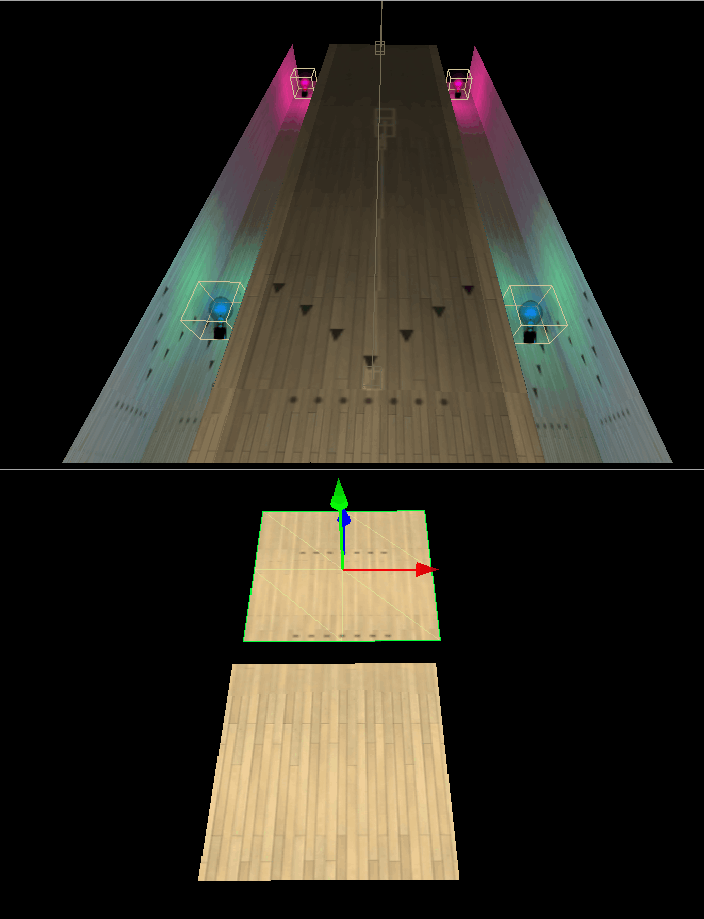
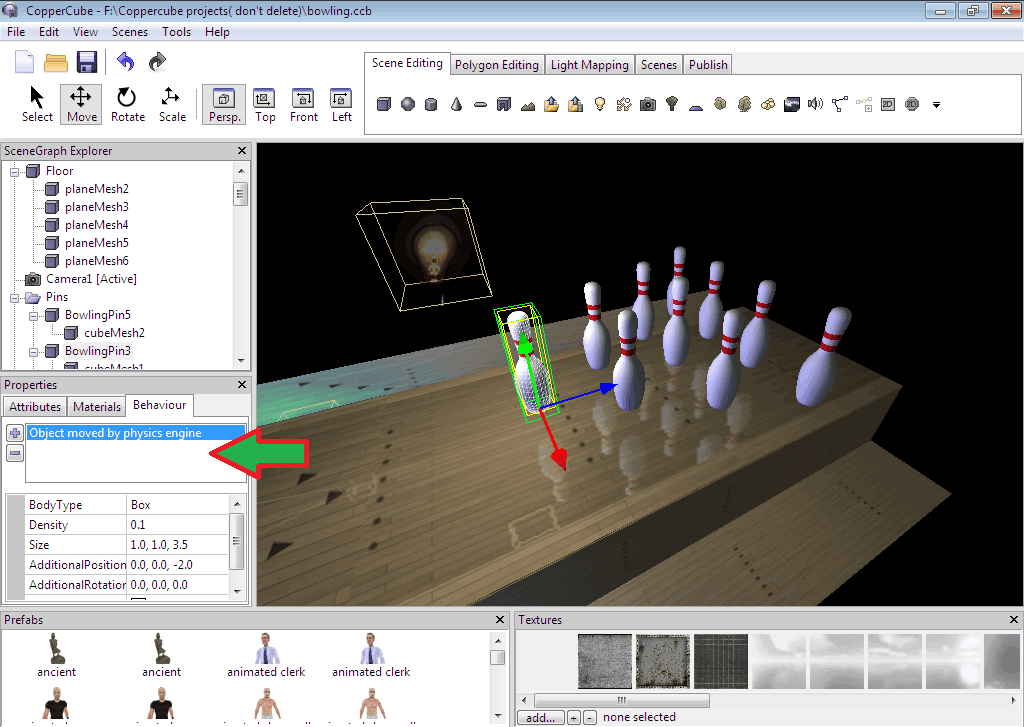
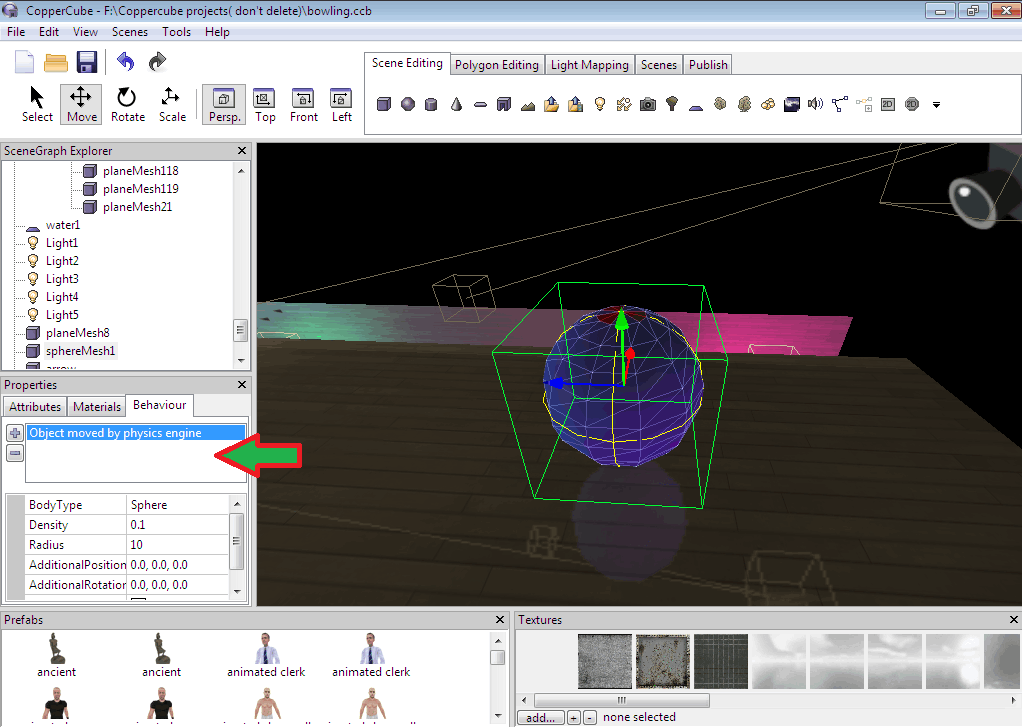
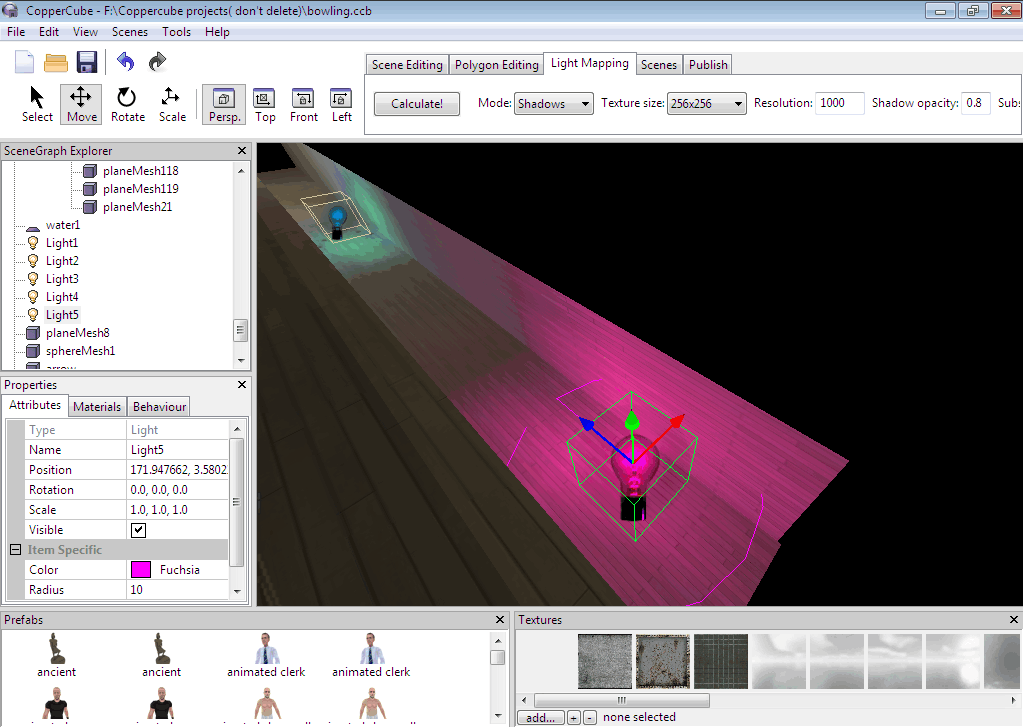
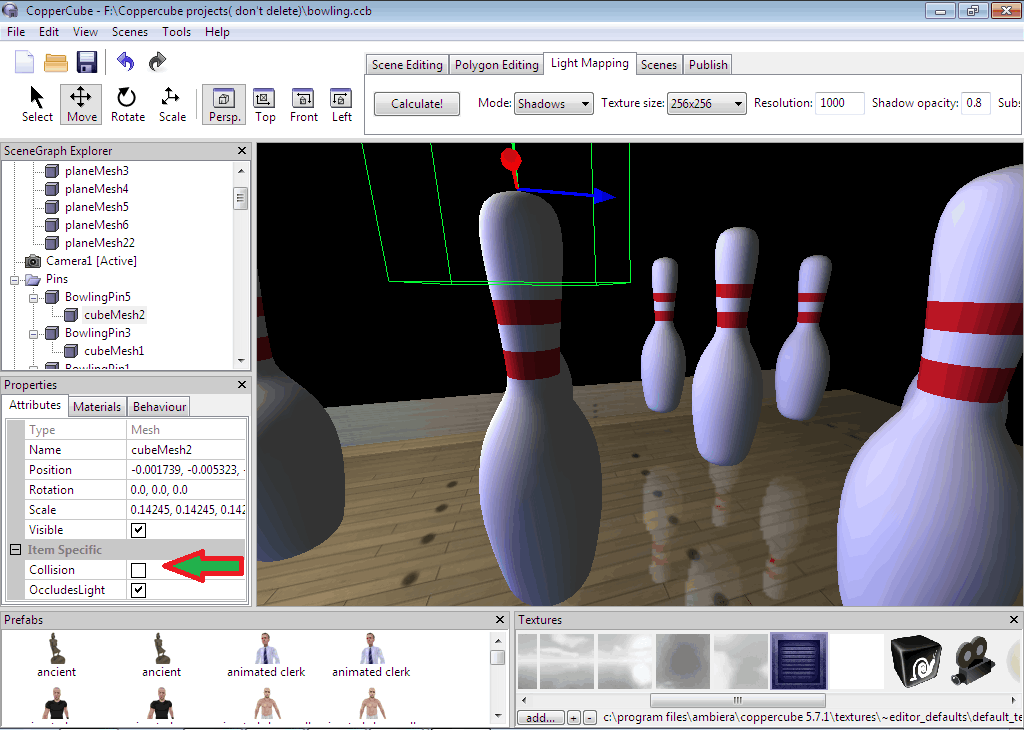
As always our first step toward creating a game will be getting the desired resources. In this tutorial we are going to use inbuilt 3D mesh primitives to create most of the resources except the bowling pins and directional arrow. We will be going to download textures from the internet for the bowling alley. You can use your own resources if you want.

Step 1

Step 2

Creating resources and aligning them

Create a spheremesh for the bowling ball and some plane meshes to create the bowling alley. Apply Textures to them and align them so they look something more like a Bowling Alley. Position and Align the Bowling Pins on the Alley Floor. You can also add water to the floor to make it shiny and to create reflections.

Step 2

Step 3

Adding physics to pins and ball

Now add a new behaviour move object by physics engine to all the bowling pins. To make this process faster aplly physics behaviour to one pin and adjust physics settings like bodytype = Box , density, size etc, then copy behaviours of that pin and paste them to other pins. So that you don't have to adjust the physics settings for each pin. 

Step 3

Now add physics to the bowling ball this time change the bodytype to sphere instead of box. It is advided that you use the same density for pins and bowling ball.

Step 4

Step 4

Add Lights (Optional)

I have used dynamic materials for all the textures in this tutorial but if you want to use static lights then you can skip this step. Otherwise add few point lights to your Scene to make it more beautiful.

Step 6

Step 5

Adding Proximty

To detect that how many pins have been fallen on the ground, we will be going to use proximity behavior/  We will add dummy cubemesh to interact with that proximity behaviour.
First of all create a dummy cubemesh and make it child node of a pin. Disable collision for this cubemesh and adjust its position so that it will stay on top of the pin as shown in the picture below.
Remember to use "black" transparent  texture for the cubemesh. Do same thing with all the other pins.

Step 7

Now create a plane mesh and scale it up so that it can cover all the pins. Adjust its position, so that it will stay on top of the pins but in between the cubemesh. Now add behavior on proximity do something to this planemesh. You have to add 10 instances of this behaviour because there are 10 Pins in our game.
adjust proximity size according to your game. And change "near to what" to a scenenode and choose a cubemesh which we have created in the above step. Change "trigerred when" to leave radius.

Step 7.2

Now execute an action, set or change a variable.
variable name= pinfall
operation = Add value(+)
valuetype = value
value = 1

Do same thing with all remaining 9 proximity behaviours each time use a diffrent cubemesh as a near to which scenenode.

Step 7.3

Step 6

Controlling Bowling ball

It is known that we can not move an object controlled by phsyics with keyboard keys.
So to make our Bowling Ball moves, we will be going to add a FPS camera and then use the fps player to make the ball move.
Lets create a Fps camera and adjust its position so that it will stay just behind the ball each time the game starts. Now when we press Up key to make  our fps player move forward, it will collide with the ball and ball will start moving.

Step 5

Step 7

Adding Directional Arrow

Download any arrow 3d model from internet and import it in the game adjust its postion and rotation so that it will stay in the center of the game pointing toward the Pins.
Now add new behavior every few seconds do something and change the time to 1ms.
Add a new action Execute Javascript and copy paste this code.

var Fpscam = ccbGetSceneNodeFromName("Camera1");
var rotation = ccbGetSceneNodeProperty(Fpscam, "Rotation");

var Arrow = ccbGetSceneNodeFromName("arrow");
ccbSetSceneNodeProperty(Arrow, "Rotation", 270,-rotation.y,0);

change "arrow" and "camera1" according to the name of your camera and name of you 3d Arrow.


Step 5

Step 8

Limiting the Fps camera movement

To stop the movement of the camera once the ball starts moving and to make it not fall from the alley we will be going to block the movement by colliding the camera with planesmeshes.
create 3 vertical planemesh and position them to left right and back of fps camera mesh.
so that it can move into the forward direction only, when the user press any other movement keys then it will collide with the planemesh and will stay on its position.
Always remember to use transparent mesh for all the  colliding/blocking or dummy meshes in your scene.

Step 5

Step 9

Creating Overlays

Create 2D overlays to show the number of how many pins fall and to show if it is an strike or not.
I will leave this step on to You because it may vary from person to Person what he want to show on 2D overlays
To show the number of pin falls. you can use the variable $pinfall$ we created in Step 5.

Step 11

Step 10

Conclusion

Hurrah!! we just completed creating our first physics based game in Coppercube 3D engine. In this tutorial I have skipped a lot of details. but i have tried to cover all the major parts, and have also provided a link to a the ccb file which may clear more doubts.
CCB file doesn't contain the complete level. it covers all the major part. e.g. bowling a ball, score and javascript used in this tutorial.

TroubleShooting

 If you have any issue and problems regarding this tutorial, just ask me it in the Comments section.

Links

CCB Template

Here is the url to download CCB template of this tutorial
CCB Template

About

Neophyte is a website developed to provide tutorials, assets and source files of CopperCube projects.

Join Us